 how-to
Christmas Personalized Decor: Ornaments & Gift Ideas
Table of Contents
- Why Christmas Personalized Decor Beats Store-Bought Ornaments
- Personalized Christmas Ornament Ideas for Every Milestone
- Custom Family Name Ornaments That Anchor the Tree
- Custom Christmas Ornaments With Names: What to Put on Each One
- Materials, Tools, and Budget for DIY Personalized Christmas Decor
- Personalized Christmas Gifts: Matching Ornaments to the Person
- How to Order Custom Ornaments Without Getting Burned
- Displaying, Storing, and Protecting Your Keepsakes
- Frequently Asked Questions
Last Updated: October 5, 2026
Why Christmas Personalized Decor Beats Store-Bought Ornaments
Walk into any big-box store in December and you'll see the same fifty ornaments in the same three colorways.
This guide from Diane's Custom Craft Corner covers ornament ideas for every milestone, what text to put on each one, how to budget a DIY project, and how to order custom pieces.
At Diane's Custom Craft Corner, we make handmade family name ornaments and custom acrylic tags.
Personalized Christmas Ornament Ideas for Every Milestone
The best personalized Christmas ornament ideas start with one question: what happened this year that you want to remember in ten years? First holidays, weddings, new homes, and new babies carry the most weight, and each suggests its own design.
A Simple Design Planning Method
Before you buy or build anything, run every idea through four decisions: text, layout, color, and motif.
- Text: one name, or one name plus a year. That's the front. Everything else goes on the back or a tag.
- Layout: horizontal for short text, vertical for long names or addresses. Leave a border of at least 1/4 inch on all sides.
- Color: one primary and one accent. A neutral base (wood, white ceramic, cream felt) with a single accent color reads cleanly at any size.
A practical test: sketch the design at actual size. If you can't read the text from three feet away, it's too small, the most common reason a custom piece looks cheap in person.
First Christmas and Baby's First Holiday Ornaments
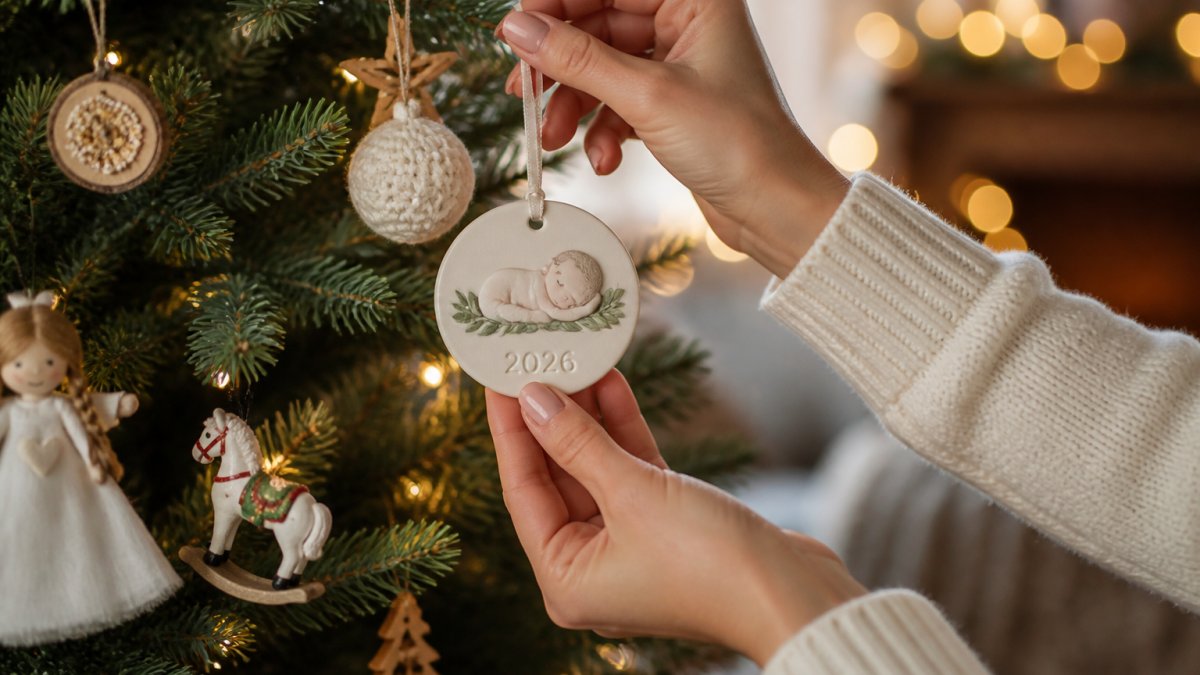
For a baby's first holiday, keep the design simple and legible from across the room: a first name, the year, and a small motif like a snowflake or snowman.
For a tree with small kids nearby, felt or air-dry clay are lighter and shatter-resistant.
A common pattern: one ornament per child in the same shape and material, varying only the name and year.
Wedding, Anniversary, and New Home Ornaments
New home ornaments work best with the address or city plus the year. Keep the layout vertical for long text, pick one accent color, and finish with a ribbon and jute twine loop.
For anniversaries, the year count matters most. "10 Years" or "25 Years" alongside the couple's names and original wedding year gives the piece a reason to come back out every December.
Pet and Memorial Ornaments
Pet ornaments follow the same rules as baby ornaments: name on the front, adoption year on the back. Felt and clay are soft and lightweight, and a paw print is easy to stamp or paint.
Memorial ornaments need a lighter touch: a name, a year range, and one small motif like a star or bird works better than a long message.
How to Personalize Each Type Without Overloading It
Here's what earns a spot on the front of each milestone ornament:
| Milestone | Front Text | Back or Tag | Suggested Motif |
|---|---|---|---|
| Baby's first | First name + year | Full birth date | Snowflake or footprint |
| Wedding | Couple's names + date | Venue or city | Two interlocking rings |
| Anniversary | Names + year count | Original wedding year | Heart or laurel |
| New home | Address or city + year | Move-in date | Tiny house or key |
| Pet | Pet's name | Adoption year | Paw print |
| Memorial | Name + year range | A short phrase | Star or bird |
A common mistake is ordering the family name in a script font that looks elegant on screen but turns into a tangle of thin lines when it's cut or printed at two inches wide. Test the font at actual size before you commit. If you can't read it from three feet away, neither can your guests.
Custom Family Name Ornaments That Anchor the Tree
A family name ornament does a different job than a milestone piece: it's the anchor.
Materials matter more here than anywhere else. Felt is soft but shows dust faster.
A common mistake is ordering the family name in a script font that looks elegant on screen but turns into a tangle of thin lines when it's cut or printed at two inches wide.
Custom Christmas Ornaments With Names: What to Put on Each One
Custom Christmas ornaments with names live or die on one decision: what text goes on the front. The answer is less than you think, one name, or one name plus a year, is almost always strongest.
Here's a simple rule for deciding what earns a spot on the front of the ornament:
| Ornament Type | Front Text | Back or Tag | Best Material |
|---|---|---|---|
| Baby's first | First name + year | Full birth date | Ceramic or wood |
| Wedding | Couple's names + date | Venue or city | Wood or glass |
| New home | Address or city + year | Move-in date | Wood |
| Family name | Surname only | Established year | Wood or ceramic |
| Pet | Pet's name | Adoption year | Felt or clay |
Choosing Text, Dates, and Fonts That Read Well on a Small Ornament
Legibility beats decoration every time. A clean serif or simple sans-serif at a readable size looks better than an ornate script squeezed into a small space.
For dates, write the full year, "2026" reads instantly, while a two-digit year can be misread. Keep greetings short: "Merry Christmas," "Happy Holidays," or a family's own phrase. Long greetings belong on a card, not a two-inch ornament.
Materials, Tools, and Budget for DIY Personalized Christmas Decor
Most pages on this topic show a finished ornament or link to a product listing. This section walks you through the actual build, with a materials list, a cost model, and three projects by skill level.
The Core Supply List
Every handmade personalized ornament needs four things: a base, a text method, a hanger, and a sealer. Everything else is optional.
- Base: wooden blanks (round, oval, or tag-shaped), ceramic discs, glass baubles, felt shapes, air-dry clay, or upcycled materials like clean bottle caps and stiffened fabric scraps
- Text method: paint pens (oil-based for opacity), adhesive vinyl cutouts, rub-on transfer letters, or a fine brush with acrylic paint
- Hanger: ribbon, jute twine, baker's twine, or pre-made metal ornament hooks
Three Projects by Skill Level
Beginner: Wooden name tag ornament (about 20 minutes per piece)
- Sand the edges of a wooden blank with fine-grit sandpaper until smooth.
- Pencil your name or short text lightly in the center. A simple sans-serif block letter is easiest to control.
- Trace over the pencil with an oil-based paint pen. Let it dry fully, usually 15 to 30 minutes.
- Add a small motif (a star, a snowflake, a heart) in an accent color.
- Spray one light coat of matte sealer. Let it cure per the can instructions.
- Thread ribbon or twine through the pre-drilled hole and tie a loop.
Intermediate: Air-dry clay keepsake (about 45 minutes plus 24 hours drying)
- Roll clay to roughly 1/4-inch thickness between two craft sticks, which act as thickness guides.
- Press a cookie cutter or a cup rim into the clay to cut a round or oval shape.
- Stamp letters with a small alphabet stamp set, or press a name written in reverse on a rubber stamp.
- Poke a hanger hole near the top with a straw while the clay is still soft.
- Let it dry 24 hours, flipping once at the halfway point so it dries flat.
- Paint the recessed letters with a fine brush, wipe the surface clean, and seal.
Advanced: Layered vinyl and wood (about 30 minutes per piece after setup)
- Design the layout in cutting software, keeping all text at least 1/4 inch tall for legibility.
- Cut adhesive vinyl and weed away the excess with a hook tool.
- Apply transfer tape, position on the wood blank, and burnish with a squeegee.
- Peel the transfer tape slowly at a low angle.
- Seal with matte spray so the vinyl edges don't lift in humid storage.
What It Actually Costs
Cost per ornament is driven by the base and text method, not the accents. For one or two pieces, paint pens are cheaper. For twenty, a classroom, craft fair, or small business order, the machine cost spreads across the batch and drops your per-piece cost sharply.
A few substitutions that save money without hurting quality:
- Use cardboard from a shipping box as a base for a painted ornament, then seal both sides.
- Swap jute twine for cotton string you already have.
- Use acrylic craft paint and a fine brush instead of paint pens if you're confident in your hand.
Upcycled and Low-Cost Materials
Old holiday cards, fabric scraps, clean bottle caps, and cardboard all work as bases. The rule is weight: anything you hang should be light enough not to pull a branch down.
Sketch your layout at actual size before you touch the base. A 3-inch round ornament has roughly 2.5 inches of usable face once you account for the hanger hole and border.
Personalized Christmas Gifts: Matching Ornaments to the Person
A personalized Christmas gift works when the ornament says something only that person would recognize.
Match the material to the recipient's home, not just their taste: felt, clay, or painted wood for a playful one; a smaller ornament for a tabletop tree.
For teachers, coworkers, and hostess gifts, a small custom acrylic tag or simple name ornament hits the right note without feeling like an obligation.
How to Order Custom Ornaments Without Getting Burned
Ordering custom work online makes most people nervous, and reasonably so.
Before you order from any maker, gather these details:
- The exact spelling of every name, checked twice
- The date or year, in the format you want it to appear
- The color palette, with one primary and one accent
Then ask three questions of the seller: Can I see photos of finished pieces similar to what I'm ordering? What's your turnaround time, and does it include shipping?
That last question matters most. A maker who sends a proof before production wants you to be happy with the result.
For small business owners ordering custom acrylic tags for product branding or a holiday market, build in extra lead time: October orders are routine; late November orders are a gamble.
Displaying, Storing, and Protecting Your Keepsakes
A keepsake only stays a keepsake if it survives the year. Storage is where most collections quietly fall apart.
How you display matters too.
For storage, follow these basics:
- Wrap each piece individually in acid-free tissue or soft cloth
- Store in a rigid box, not a soft bag, so nothing gets crushed
- Keep the box in a climate-controlled space, away from damp basements and hot attics
Air-dry clay and felt need the most care, they absorb moisture and can warp or grow musty.
If a piece breaks, don't toss it immediately.
The hard part of Christmas personalized decor isn't finding an ornament.
Frequently Asked Questions
What should you put on a personalized Christmas ornament?
Most personalized Christmas decor starts with a name, but the details around it do the heavy lifting. Add the year, a milestone date like a wedding or first Christmas, and a short greeting or inside joke. For custom Christmas ornaments with names, keep the text to one or two lines so it stays readable on a small surface. If the ornament is for a family, a surname plus the year works better than listing every first name.
When should I order personalized Christmas ornaments?
Order by early November for standard turnaround, and by mid-October if you need custom acrylic tags or bulk quantities for gifts. Handmade shops cut off orders once production slots fill, so late November orders often arrive after the holiday. If you are ordering custom family name ornaments for a group, send your name list in one message to avoid back-and-forth delays.
Are personalized Christmas ornaments good gifts?
They work well because they carry information a store-bought ornament cannot: a name, a date, a specific memory. Personalized Christmas gifts land hardest when the recipient has a milestone that year, such as a new baby, a wedding, or a first holiday in a new home. Pair the ornament with a short note explaining why you chose the wording, and it becomes a keepsake rather than a decoration.
How do I know the quality will match the photos?
Ask for photos of finished pieces before you order, not just mockups. A maker should be able to show real customer work with the same materials you are buying, whether that is acrylic. Ask what happens if the design or colors come out wrong, and get the answer in writing. Reputable shops state their redo or refund policy up front instead of after a complaint.